Introduction
In the sweltering summer heat, a functioning car air conditioner provides much-needed respite during our daily commutes. However, like any mechanical system, air conditioners require periodic maintenance, and draining the freon refrigerant is a crucial aspect of that upkeep. Whether you’re a seasoned DIY enthusiast or a novice mechanic, understanding the steps involved in draining freon from your car’s air conditioner is essential for keeping your cooling system operating efficiently.
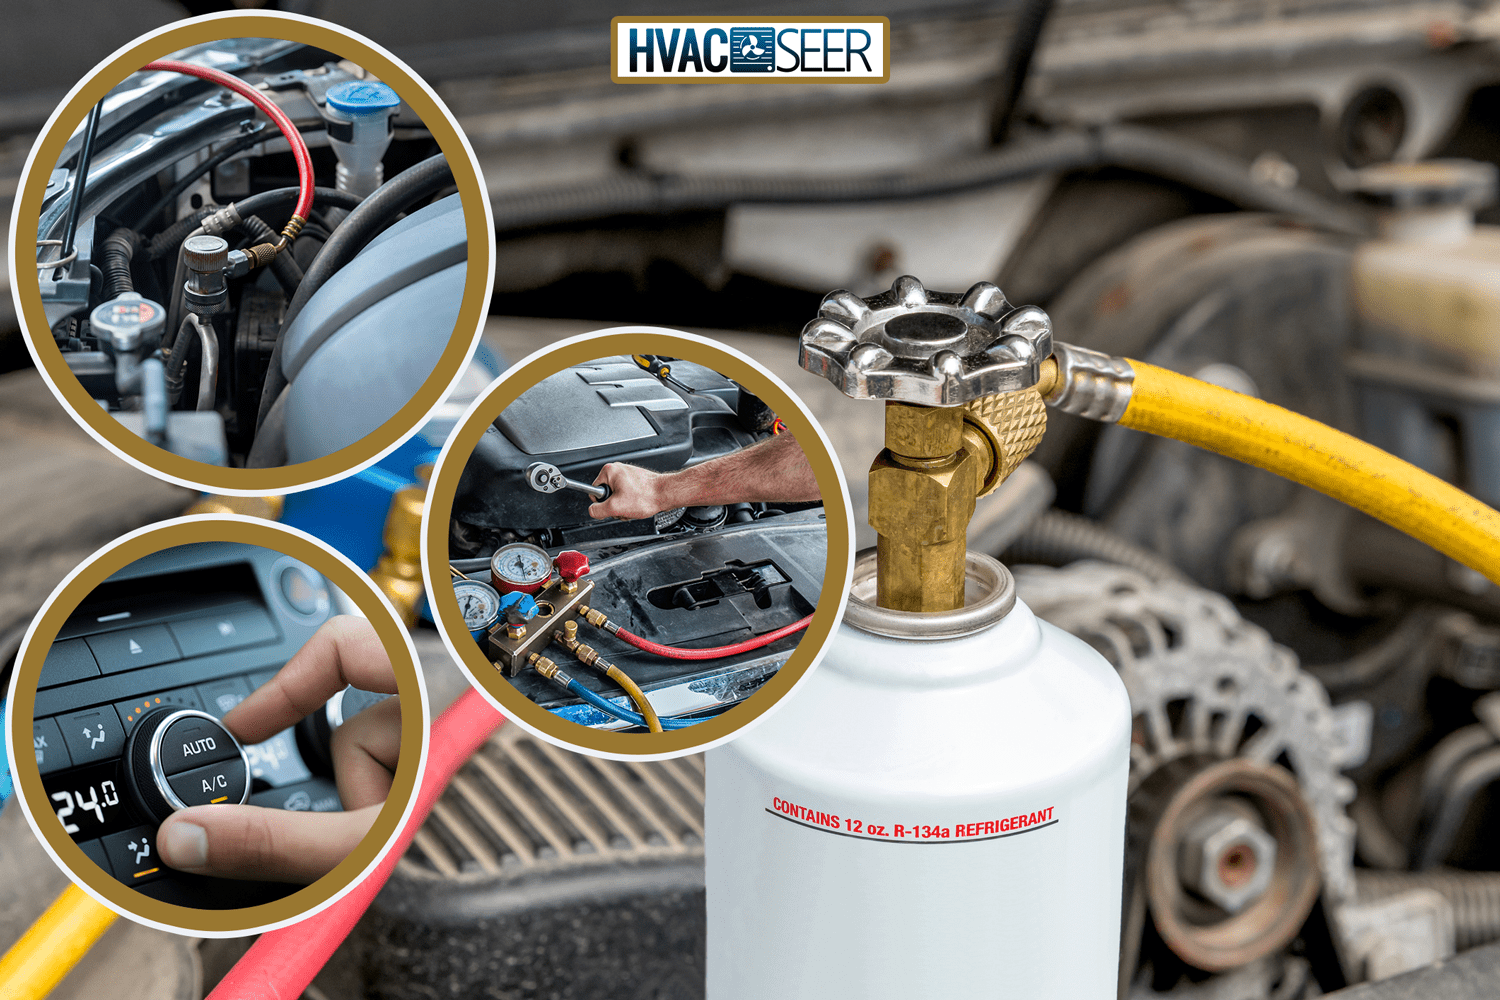
Image: hvacseer.com
Understanding Freon and Its Role
Freon, also known as refrigerant, is a vital component of car air conditioning systems. It absorbs heat from the inside of your vehicle, converting it to cool air. Over time, freon levels may deplete, leading to reduced cooling efficiency or even a complete system failure. Draining and refilling the freon is a task that requires proper knowledge and safety precautions.
Safety First: Essential Protective Gear
Before embarking on the process of draining freon, it’s paramount to prioritize your safety. Freon can be harmful if inhaled or comes into contact with your skin, so wearing appropriate protective gear is crucial. This includes safety goggles, gloves, and a mask that filters out hazardous fumes.
Step-by-Step Freon Draining Procedure
-
Gather Necessary Tools and Materials: Assemble a manifold gauge set, recovery tank, recovery machine, and a hex key or wrench.
-
Locate Low-Pressure Service Valve: Identify the low-pressure service valve, typically located on the side of the air conditioner compressor.
-
Attach Recovery Manifold Gauge Set: Connect the recovery manifold gauge set to the low-pressure service valve, using the provided hoses and fittings.
-
Start Recovery Machine: Turn on the recovery machine, which will suction the freon from the air conditioner system.
-
Monitor Pressure Gauges: Keep an eye on the pressure gauges on the recovery manifold gauge set. When the pressure drops to zero, the refrigerant is fully drained.
-
Disconnect Recovery Manifold Gauge Set: Once the recovery process is complete, carefully disconnect the recovery manifold gauge set from the low-pressure service valve.
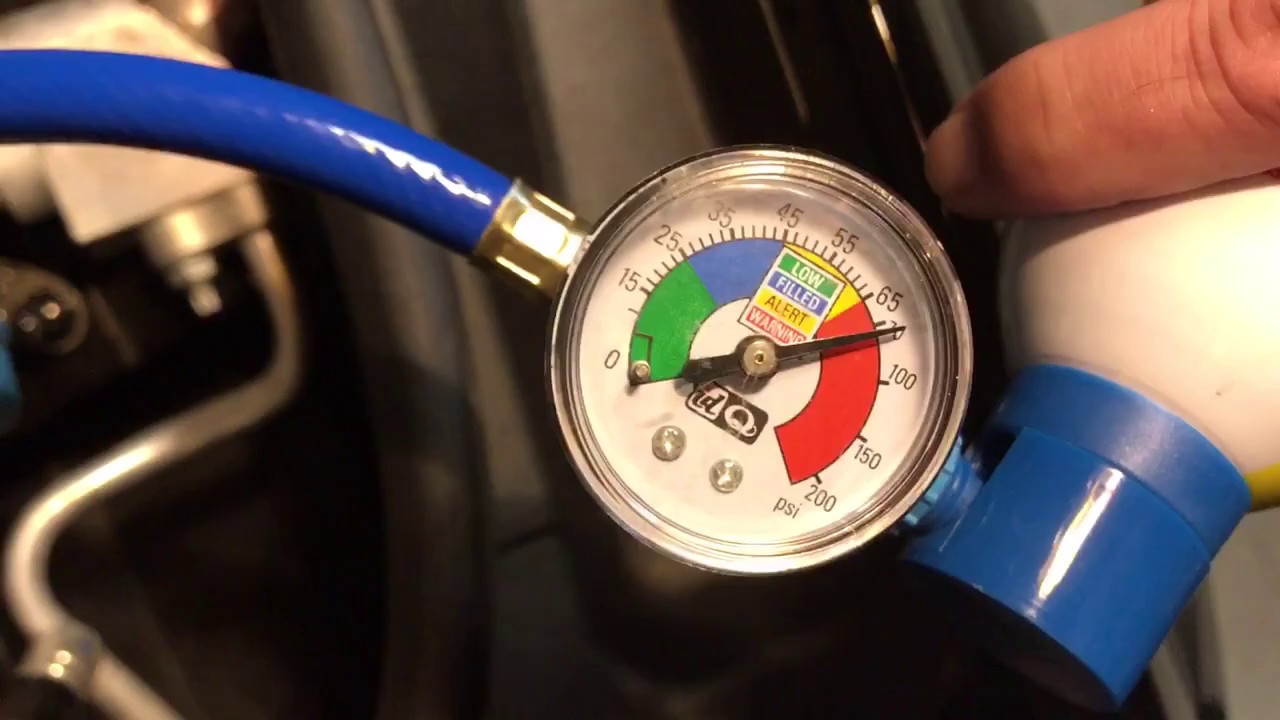
Image: www.youtube.com
Additional Tips for Effective Freon Draining
-
Use a Certified Recovery Machine: Employ a recovery machine that is EPA-certified to ensure proper handling and disposal of refrigerant.
-
Evacuate System: After draining the freon, evacuate any remaining refrigerant from the system using a vacuum pump.
-
Recharge System with Proper Refrigerant: Consult your vehicle’s specifications to determine the type and amount of refrigerant required. Use a precise gauge to properly recharge the system.
-
Check for Leaks: Inspect all hoses and connections for any leaks that could result in refrigerant loss.
Professional Assistance: When to Call an Expert
If you encounter any difficulties during the freon draining process, such as persistent leaks or excessive pressure, it’s advisable to seek the assistance of a certified automotive technician. They possess the expertise and specialized equipment to diagnose and resolve any underlying issues, ensuring the safe and efficient operation of your car’s air conditioning system.
How To Drain Freon From Car Air Conditioner
Conclusion
By following the steps outlined in this comprehensive guide, you can effectively drain the freon from your car’s air conditioner, restoring its cooling capabilities and ensuring a comfortable driving experience. Remember to prioritize safety precautions and consider consulting a professional for complex issues. With proper maintenance and timely freon drainage, you can prolong the lifespan of your car’s air conditioning system and beat the heat of the summer for years to come.
